Yes, that’s right — I did say that I had “done another one on the
weekend” 🙂
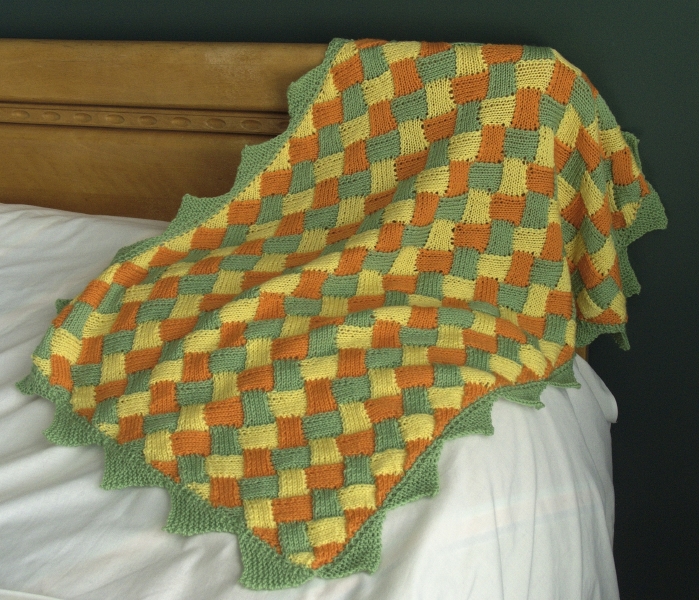
It’s posted
in my drafty gallery.
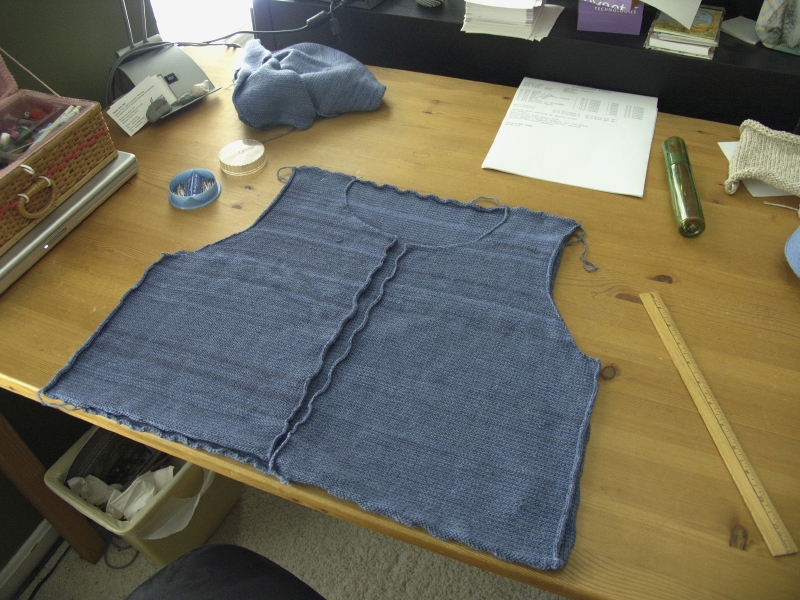
For the record — I headed down to the knitting machine around noon on
Saturday, and had it all seamed and trimmed by 2:30pm on Sunday.
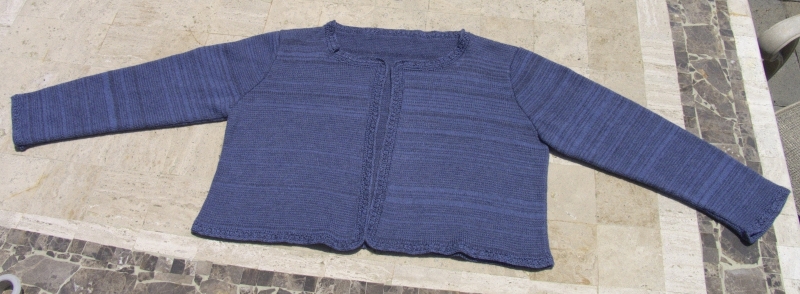
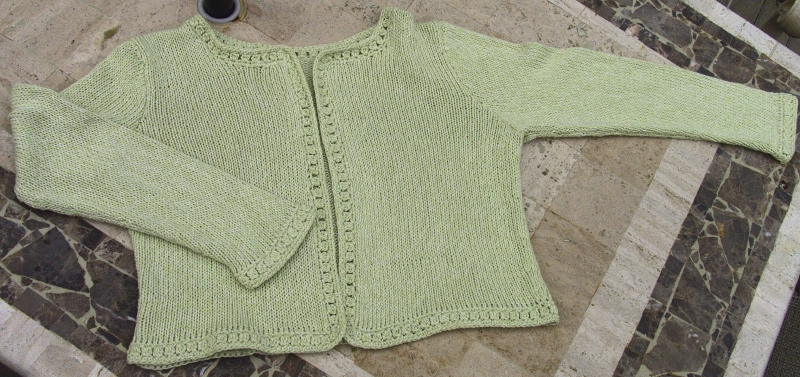
This is the original yarn I’d used (Dale Svale) when I first
ventured into making a machine knit sweater, on my plastic bed Bond
knitting machine. This time, I did it up on my bulky machine, a
Studio SK890. It’s pretty much the same pattern (at a very
different gauge) as the first one
I made, although I did adjust some of the measurements (e.g., this
tapers towards the waist).
I did not consciously remember, though, that I had crowed about the
first effort being a sweater-in-a-weekend! Ah, well, at least
this time, it turned out reasonably as expected. My motivation
this time was: standing in my closet last week, bemoaning my
absolute lack of presentable, lightweight jackets, suitable for fending
off office airconditioning without causing a meltdown while outside in
a Virginia summer. And I thought “Heh, I have yarn for one!
And I’m about to be away from my knitting machines for the better part
of a month. I’d best get cracking.”
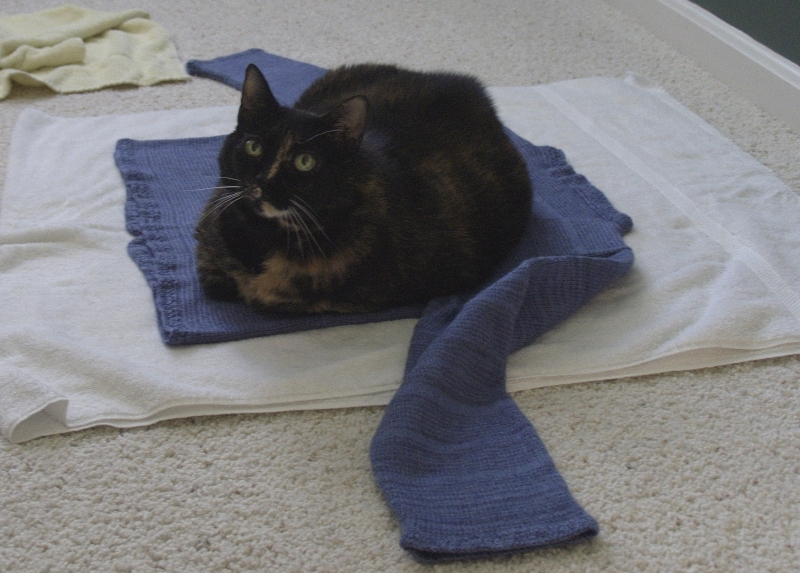
So, in some sense, this was an effort to demonstrate that it is
possible to use knitting machines to produce wearable clothes in short
order. (In fact, it took longer for it to dry from wet-blocking
(>24H) than it did to make the sweater!).
It was also an important reminder/lesson: I am not quite ready to
label myself a “process knitter”, but it is the case that the activity
of knitting is what is important to me. Driving for the end
result — well, a good end result is a fine reward! But, there
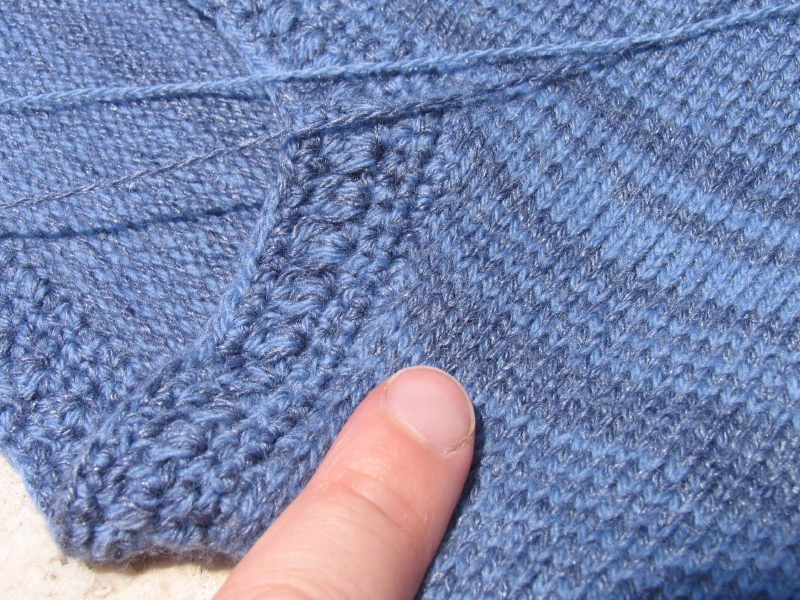
was a certain amount of hyperfocus involved in getting this done
(sewing up seams while having a social drink on the patio; walking
around Sunday morning with the crochet hook and trim work…).
And when I find myself thinking about how I can expand my wardrobe by
some number of future weekends spent similarly… it starts to feel
like work.
And I really don’t want knitting to be work.
Guess it’ll never be a career, huh? 😉
Interestingly, the row gauge was off on this one, as well. I got
29.5 rows/4 inches on the actual sweater, as compared to the 26 rows/4
inches I measured off the swatch. I’m not sure what’s with
that. I guess I’ll have to make bigger swatches for knitting
machine efforts?